
.png)
- Jan 10, 2023
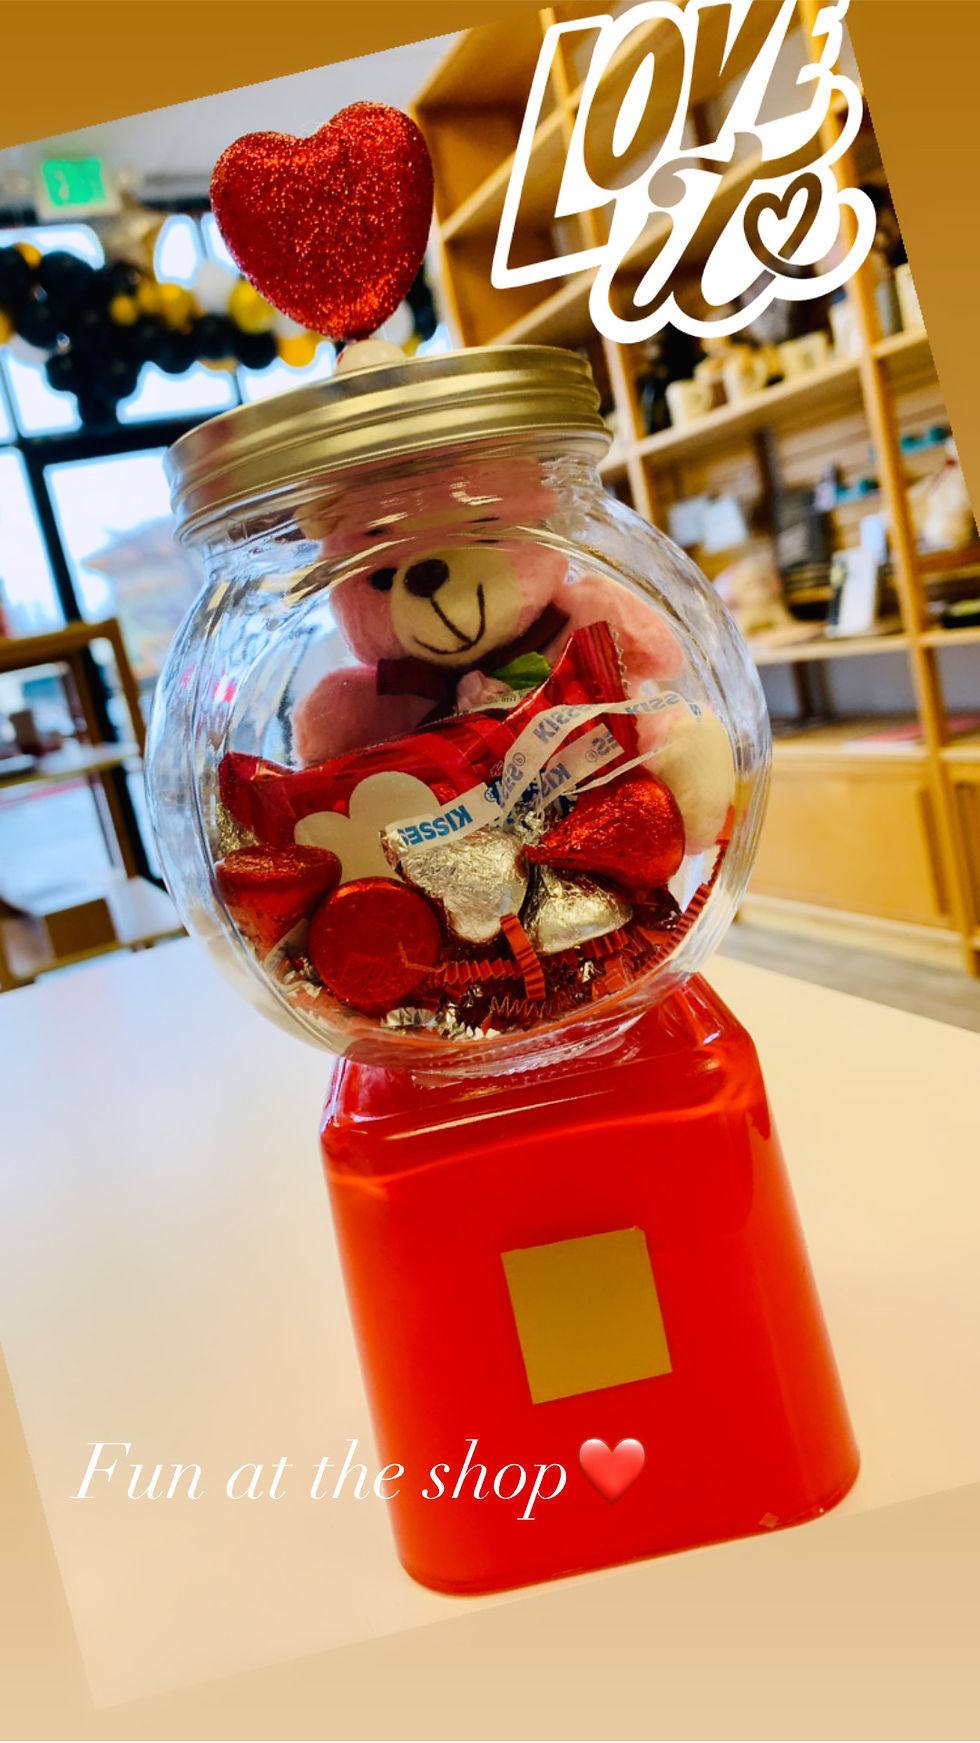
We're getting ready for Valentine's Day and today I'm making an easy DIY Valentines Day Gumball Machine!
Let's Go!
To make this adorable DIY gumball machine, you're going to need a few items:
SUPPLIES NEEDED:
Square Glass Base
Glass Candy Jar with lid
Wood Bead
Glitter foam heart pick
Small square of gold vinyl
Super Glue
Hot Glue
Masking tape
Red Spray Paint for glass
Various Candy to fill it
I bought the glass base and the glass candy jar with lid from Dollar Tree. I purchased a can of red Spray paint from Lowes and the bead and foam glitter heart topper I had in my left over projects, but I believe they're available at Dollar Tree as well.
TO START
The Base
I covered the outside of the Square glass base with masking tape and using light coats, I sprayed the red spray paint inside the base. In total I had about 3 coats letting it dry between painting. Then I removed the masking tape and cleaned the outside of the glass base with a cotton ball with a little rubbing alcohol.
The Candy Jar
I also wiped the outside of the bottom of the glass candy jar with a cotton ball with a little rubbing alcohol, then using my hot glue gun AND the super glue, I carefully added BOTH , alternating so they did not touch, to the Top ( upside down- open side down) of the Square Glass base.
Place the clean Candy Jar on top of the super/hot glue and press down for a few seconds.
Candy Jar Lid Topper
Using the same glue technique I added a bit of super glue and hot glue to the bottom of the wood bead and placed it on the center of the top of the candy jar lid, and let dry.
Cut the Heart pick to fit inside the wood bead center and put a little hot glue inside the wood bead center hole, then place the heart pick into it. Allow it to dry.
Clean the outside front of the square base with a bit of rubbing alcohol on a cotton ball and let dry, they place gold square vinyl sticker on the front making sure it is centered.
That's it! Now fill the Candy Jar with any candy of choice, then add your special Valentines Card and Gift away! Your Friends and Family will love this!
To watch my Youtube video tutorial click here https://youtu.be/PNKZzFqM3R0
Please remember to Like Share and Subscribe to share the cutie! And remember to Tag me at #FabulousDIY
There's more fun coming, as I'll be making many more Valentines Day arrangements. So make sure you Tune in and join the fun!
Thank you much! Love you All!
Belynda


